
Last updated November 15, 2026
 Wrought iron
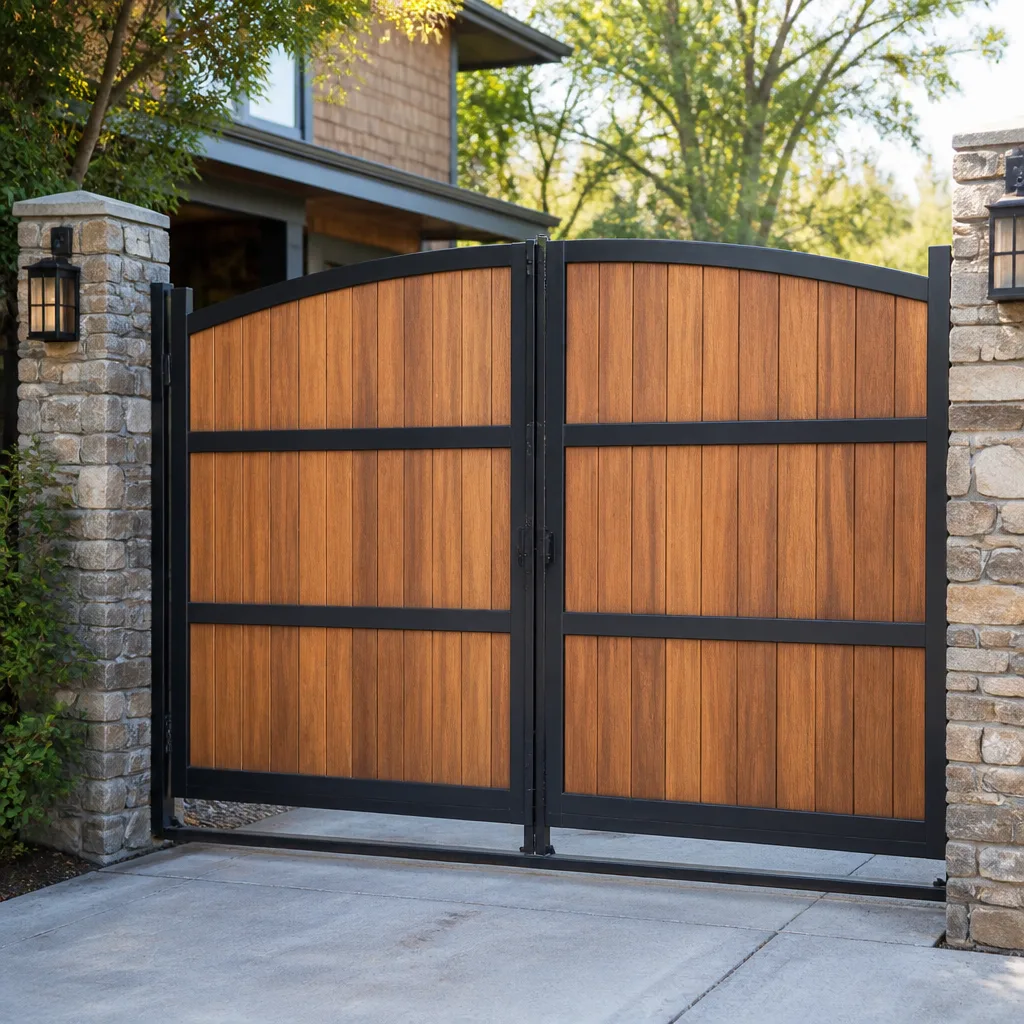 Wood & steel frame
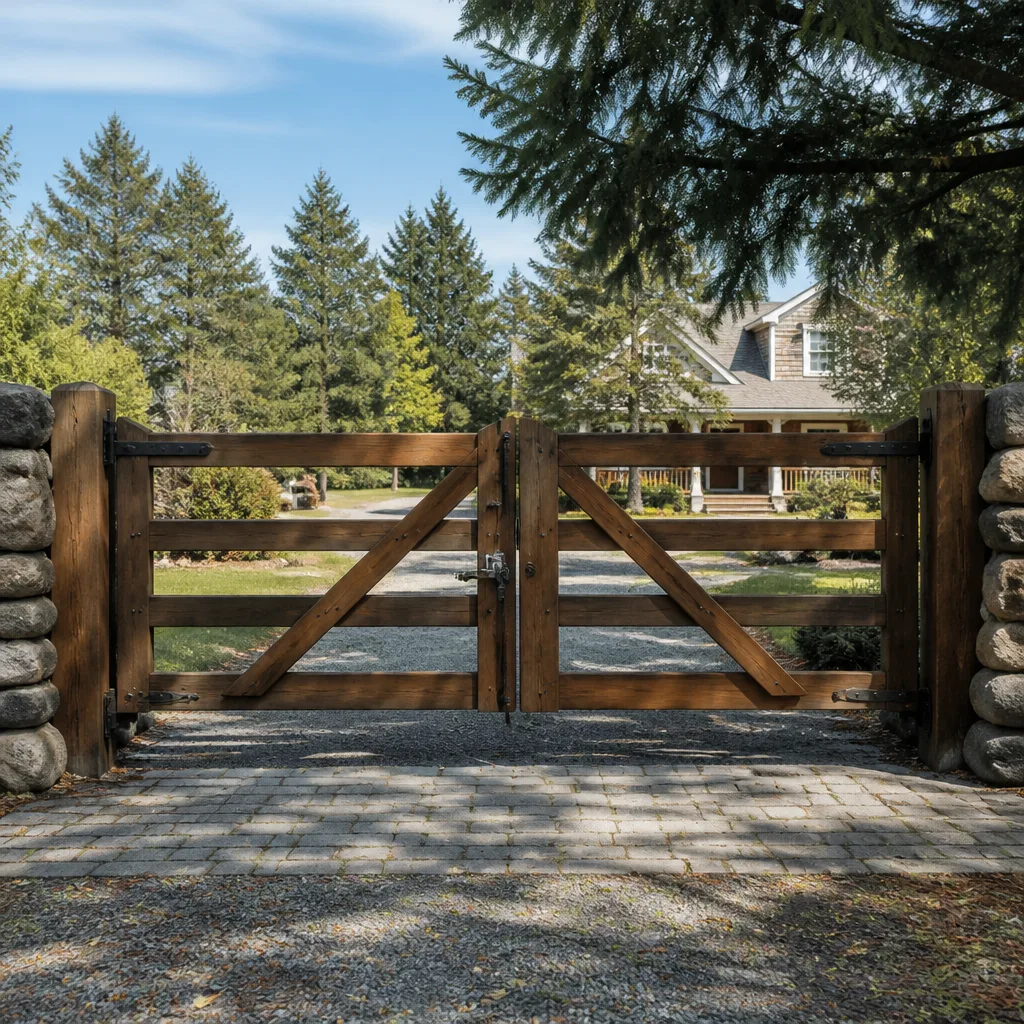 Farm & ranch
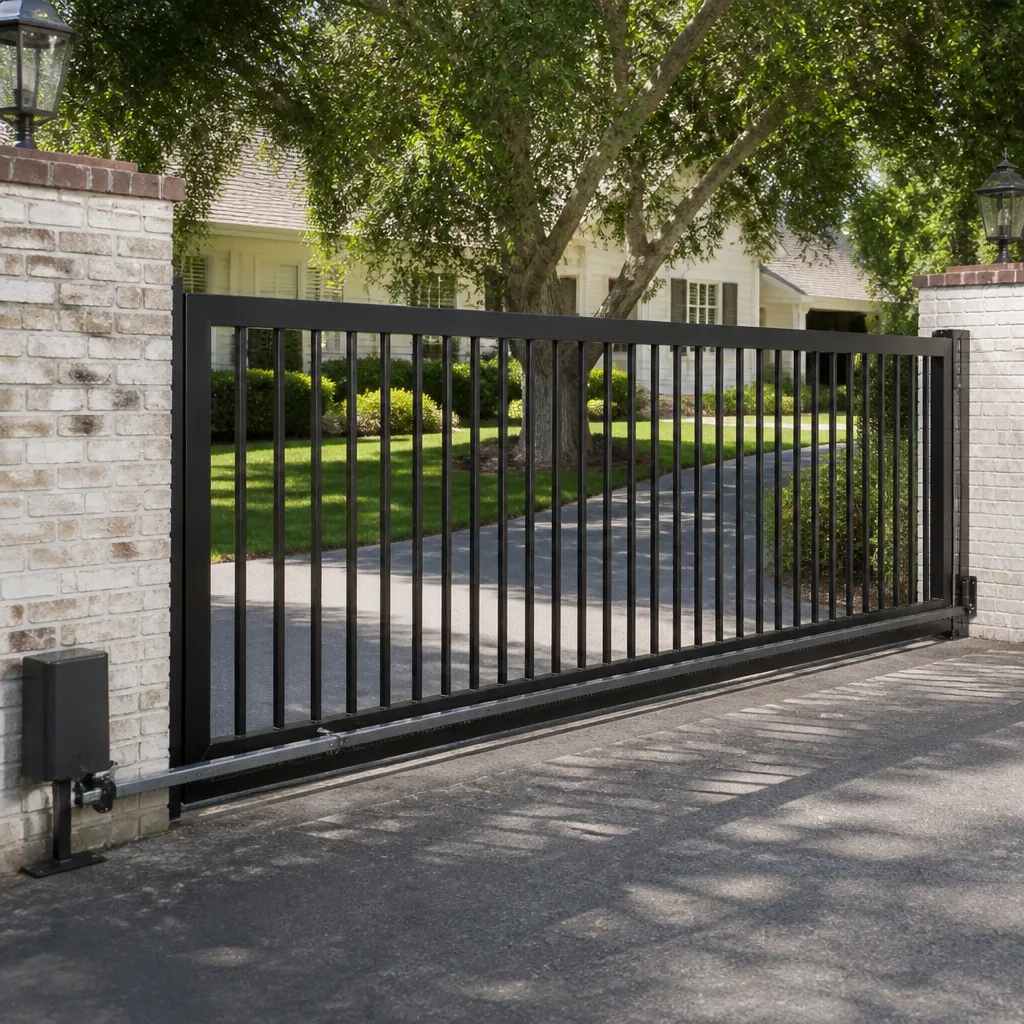 Sliding driveway gates
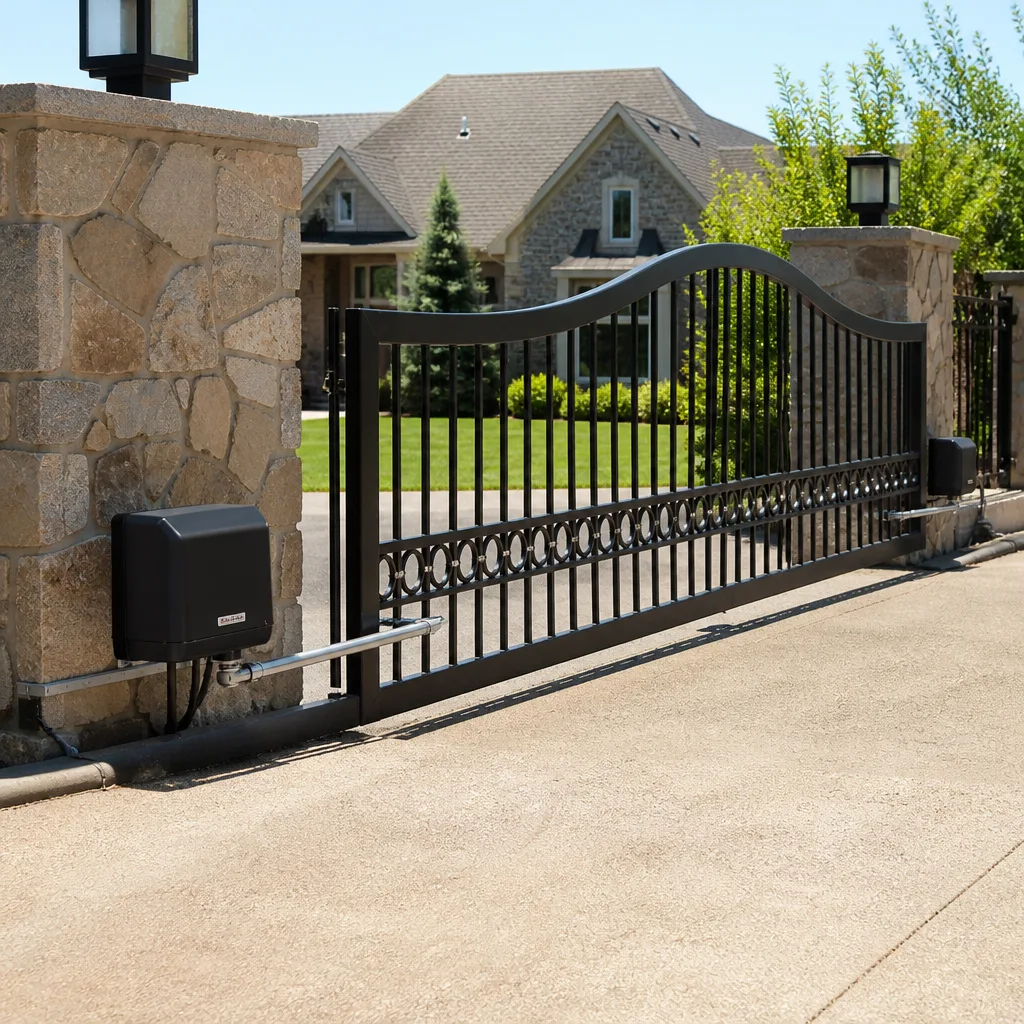 LiftMaster operators
Free on-site gate assessment - hinges, posts, and your LiftMaster or Nice gate operator checked before anything is quoted
The assessment is free and the quote is the invoice.
Get your free estimateGate Repair Maintenance Schedule: What to Do and When
Most gate maintenance advice you’ll find is a tidy twelve-month calendar: check this in spring, oil that in fall. In Washington, that calendar quietly fails you. The two months that break the most gates here are February and August, and neither is a heavy-use month. February brings repeated freeze-thaw cycles that contract metal, stiffen grease and work fasteners loose at their weakest points. August stacks humidity on top of heat and stresses every control board, hinge and motor winding on the property. Miss those two windows and a small wear item turns into a repair bill you didn’t plan for. What follows is a schedule built around Washington’s real seasonal stress points instead of the calendar on the wall, plus the checklist that catches most failures while they’re still cheap.
Quick Answer
A gate maintenance schedule for Washington should be organized around seasonal stress, not fixed months: inspect after the first hard freeze, clean and lubricate after pollen season, test electronics and safety sensors when summer humidity peaks, and clear debris before winter. Run a 10-minute tool-free inspection every quarter. Anything that sounds wrong, drags, or reverses slowly needs a technician, not another month on the calendar.
Styles & brands we work with
- Wrought iron
- Wood & steel frame
- Farm & ranch
- Sliding driveway gates
- LiftMaster operators
Table of Contents
- Why a Calendar-Based Schedule Fails in Washington
- After the First Hard Freeze: The February Check
- After Pollen Season: The Late-Spring Cleanup
- When Summer Humidity Peaks: The August Electronics Check
- Which Lubricant Goes on Which Component
- The 10-Minute Quarterly Inspection Checklist
- Testing and Resetting Safety Reversal Sensors
- Signs Professional Servicing Is Overdue
Why a Calendar-Based Schedule Fails in Washington
Washington’s climate doesn’t hand you four evenly spaced seasons. It hands you a handful of stress events, and each one hits a different part of the gate. A printed calendar ignores that. It tells you to “lubricate in fall” when what actually matters is that the grease you applied before the first freeze is still soft enough to do its job in February, or that the operator’s control board survived the humid stretch in August without condensation shorting a terminal.
Think about what each season actually does to a gate in Washington:
- Winter freeze-thaw shrinks and expands metal repeatedly. Bolts back out. Hinges bind. Lubricant that wasn’t rated for cold turns waxy and stops protecting anything.
- Spring pollen coats tracks, chains and photo-eye lenses. A lens with a film of pollen is a sensor that will trip at the worst moment.
- Summer humidity puts moisture inside operator housings. Control boards, loop detectors and wiring terminals are where that moisture does its damage.
- Fall leaf drop packs sliding-gate tracks and clogs the gaps around swing-gate hinges, holding moisture against metal.
The stress-point schedule below replaces the calendar. It’s the same idea behind the way our technicians approach Gate Repair Washington: diagnose what the season and the brand are doing to the gate, not what month it is. That distinction matters most in a city where a single missed freeze can undo a whole season of good intentions.
After the First Hard Freeze: The February Check
The first hard freeze is your trigger, not a date on a calendar. Once Washington has had its first deep cold snap, walk the gate within the following week. This is the single most valuable inspection of the year because freeze-thaw is what quietly loosens the hardware that holds a gate together.
Here’s the order to work through it:
- Check every visible fastener on hinges, brackets and the operator mount. Cold contraction backs bolts out. If a bolt turns easily by hand, it needs torque, and a bolt that’s already loose needs a technician to check what it was holding.
- Open and close the gate by hand (with the operator disengaged). It should move smoothly. Binding or a grinding feel in cold weather usually means a hinge or roller has lost its lubricant.
- Look at the lubricant itself. Grease that has gone waxy or cracked is no longer protecting the surface under it. Cold-rated lubricant belongs on anything exposed to February.
- Test the operator’s manual release. In cold weather a stiff release is a warning. If you ever need it in an emergency, it has to move freely.
- Clear the travel path. Ice, packed snow and grit in a sliding gate’s track will stall an operator and, on some units, damage the drive.
Brand matters here. A Linear or Viking swing operator and a BFT sliding unit wear differently in cold, and the way each one signals a problem differs too. That’s the logic behind diagnosing by brand rather than by trial and error: on a BFT sliding gate the cold-weather symptom set points you toward different components than it would on a Ghost Controls residential swing gate. Getting that right the first time is what keeps a February inspection from turning into a February repair.
After Pollen Season: The Late-Spring Cleanup
Pollen season in Washington leaves a fine yellow film on everything outdoors, and on a gate that film is a mechanical problem, not a cosmetic one. It gums chains, packs into track grooves and coats the lenses of safety photo-eyes until they can’t see across the driveway. The cleanup should happen once the pollen has finished, not while it’s still falling.
What the late-spring pass should cover:
- Chain drives: wipe the chain down with a rag before adding anything. Applying fresh lubricant over a pollen-and-grit film just traps the grit against the pins and accelerates wear.
- Sliding-gate tracks: sweep or blow out the groove. Pollen mixed with spring rain becomes a paste that a roller will ride over instead of through.
- Photo-eye lenses: wipe both lenses with a soft cloth. This is the cheapest maintenance you’ll do all year and it prevents more nuisance trips than almost anything else.
- Swing-gate hinges: clear the gaps. Debris packed into a hinge holds moisture and is a common reason a gate starts to sag by summer.
- Control enclosure vents: make sure nothing has nested or clogged them. Airflow is what keeps a control board dry through the humid months ahead.
This is also the point to look at any electric gate repair issues that showed up over the winter but never quite resolved. A sensor that trips intermittently in spring tends to fail outright in August humidity, when the board is under more stress. Cleaning and testing now is how you avoid that.
When Summer Humidity Peaks: The August Electronics Check
August is the second month that breaks the most gates in Washington, and it’s almost never a mechanical failure. It’s moisture inside an operator housing or a control enclosure, where it reaches terminals, control boards and loop detectors. Heat alone stresses motor windings; humidity on top of it is what turns a working board into a dead one.
The August pass is the electronics pass:
- Open the control enclosure and look for moisture, corrosion on terminals or a musty smell. Any of those means the enclosure isn’t sealing the way it should.
- Test the safety devices (more on this in its own section below). Humidity is when a marginal photo-eye or loop detector starts misreading.
- Check operator housing seals and gaskets. A cracked gasket is the entry point for the moisture that does the damage.
- Listen to the operator under load. A motor that strains in heat may be working harder than it should, which shortens its life.
- Confirm access-control components respond reliably. Keypads, remotes and entry systems that act up only in humid weather are telling you something about the wiring or the board.
We’ve seen plenty of August failures on DoorKing access systems and FAAC operators that trace straight back to a seal that was fine in May and cracked by July. The fix is usually small when you catch it in August. Left until the gate stops entirely, it’s a board replacement. If your gate is already down, that’s exactly what we do, and you can reach us at (888) 260-4909. We answer 24/7.
Which Lubricant Goes on Which Component
Using the wrong lubricant is worse than using none. The right product on the wrong component attracts grit, holds moisture or washes out under load, and each of those accelerates wear instead of preventing it. The most common mistake is treating every moving part the same way. They’re not the same.
Here’s the component-by-component guide:
- Chain drives: a chain-specific lubricant that penetrates the pins and stays put without collecting grit. Never use thick grease on a chain; it becomes a grit magnet that grinds the pins. Wipe the chain clean first, then apply sparingly.
- Screw drives: a lighter lubricant appropriate to the screw, applied to a clean surface. Grease packed onto a screw drive holds debris and can increase drag rather than reduce it. A screw drive and a chain drive need different products for exactly this reason, and mixing them up is a common cause of premature wear.
- Hinges and pivot points: a lubricant that stays in place under load and doesn’t wash out in rain. These carry the weight of the gate, so this is where the wrong product costs you most.
- Rollers and track contact points: light lubrication only. Tracks themselves should be clean, not coated. A lubricated track collects grit and turns a smooth slide into a grind.
- Locks and latches: a dry or graphite-style lubricant that won’t attract dust and gum up the mechanism.
One rule covers most of it: clean before you lubricate, and match the product to the drive type. Our technicians have up to experience, and the number of failures that trace back to the wrong lubricant on the wrong drive type is one reason we lead every service visit with the drive, not the schedule.
The 10-Minute Quarterly Inspection Checklist
You don’t need tools or a technician to catch most developing problems. Ten minutes, once a quarter, covers the checks that catch the large majority of issues before they turn into a failure. Do this on a day when you can watch the gate run its full cycle.
- Watch a full open and close. Does it move evenly, without a pause, lurch or drag at any point? Any change from the last time you looked is worth noting.
- Listen. A healthy gate is quiet. Grinding, squealing, clicking or a rhythmic thump is a component telling you it’s wearing.
- Look at the gate’s line. Stand back and check that a swing gate sits square and a sliding gate hangs level. Sag is the earliest sign of hinge or roller wear.
- Check the safety sensors by hand. Pass an object through the photo-eye beam while the gate is closing. It should reverse.
- Test the manual release and confirm it moves freely, then re-engage it fully.
- Clear the travel path of leaves, grit and debris.
- Look for rust, cracks or loose bolts at the hinges, brackets and mounting points.
Write down what you find and the date. Two or three quarters of notes tell you far more than a single inspection, and it gives a technician real information instead of a vague description. That’s especially useful for property managers in Washington running several gates on one site, where tracking which gate is trending toward trouble saves real money.
Testing and Resetting Safety Reversal Sensors
Safety reversal sensors are the most neglected maintenance item on any automated gate, and the one with the most liability attached. On a commercial gate, a photo-eye or loop detector that fails to reverse the gate correctly is a serious hazard, and it’s the item most often skipped because the gate “seems to work fine.” A gate that closes without a fault isn’t proof the sensors work. You have to test the reversal.
Testing is simple and tool-free:
- Start the gate closing and pass a solid object through the beam of the photo-eye. The gate should stop and reverse.
- Test the loop detector on a vehicle gate by driving or walking a test object across the loop while the gate is closing. It should hold the gate open or reverse it.
- Test the built-in obstruction sensing by applying light resistance by hand where the manufacturer’s manual allows it. If you’re not sure how a specific operator handles this, leave it to a technician.
- Reset is usually at the control board, and on most brands it means clearing the fault and re-running a limit or travel calibration. The exact sequence differs by brand, which is why it pays to know the unit.
If a sensor fails the test, stop using the automation until it’s fixed. A gate that doesn’t reliably reverse is a gate that shouldn’t be moving on its own. On the control side, this is precisely the work covered by our gate repair service, and it’s the check we treat as non-negotiable on every visit. If you’re unsure whether your sensors are wired or calibrated correctly, call a professional rather than experimenting; getting a reversal setting wrong is not a DIY fix.
Signs Professional Servicing Is Overdue
Your calendar schedule is a floor, not a ceiling. Certain symptoms mean stop waiting for the next scheduled pass and get eyes on the gate now. Ignoring them is how a minor wear item becomes a major repair. Watch for:
- New sounds. Any grinding, squealing or rhythmic thump that wasn’t there last month.
- Uneven movement. A gate that lurches, pauses mid-travel or speeds up and slows down is straining.
- Slow or inconsistent reversal. A sensor or obstruction system responding late is a safety issue, not a nuisance.
- Sagging or dragging. A gate that has dropped out of square is stressing the operator with every cycle.
- Frequent nuisance trips. A gate that reverses for no reason is a sensor problem that needs diagnosis.
- Operator strain. A motor that sounds labored or runs hotter than usual is working against resistance.
- Access-control glitches. Keypads or remotes that work only sometimes point to wiring or board trouble.
One of these is a call. Several together is a call today. In our experience a gate rarely fails without warning; the warnings are just easy to talk yourself out of.
Common Mistakes to Avoid
- Following a generic calendar instead of the seasons. A schedule built for a mild climate misses Washington’s freeze-thaw and humidity peaks, which are the two events that actually break gates here.
- Greasing a chain drive. Thick grease on a chain collects grit and grinds the pins. Chain drives and screw drives need different lubricants, and treating them the same accelerates wear.
- Lubricating over dirt. Applying fresh product on top of a gritty surface just traps the grit against the moving part. Clean first, always.
- Skipping the pollen cleanup. Pollen packed into tracks and coated on photo-eye lenses causes the nuisance trips and premature wear that show up as real failures by summer.
- Assuming the gate “works” because it moves. A gate that closes without reversing might have a dead safety sensor. You have to test the reversal, not just watch the gate.
- Ignoring a sag for one more season. A gate out of square puts strain on the operator every single cycle. Left alone in Washington’s freeze-thaw cycles, a hinge problem becomes an operator problem.
- Mixing brand-specific parts and procedures. A Linear, Viking, BFT or Ghost Controls unit each has its own reset and calibration logic. Guessing at settings on a safety system is a bad place to save money.
See the difference
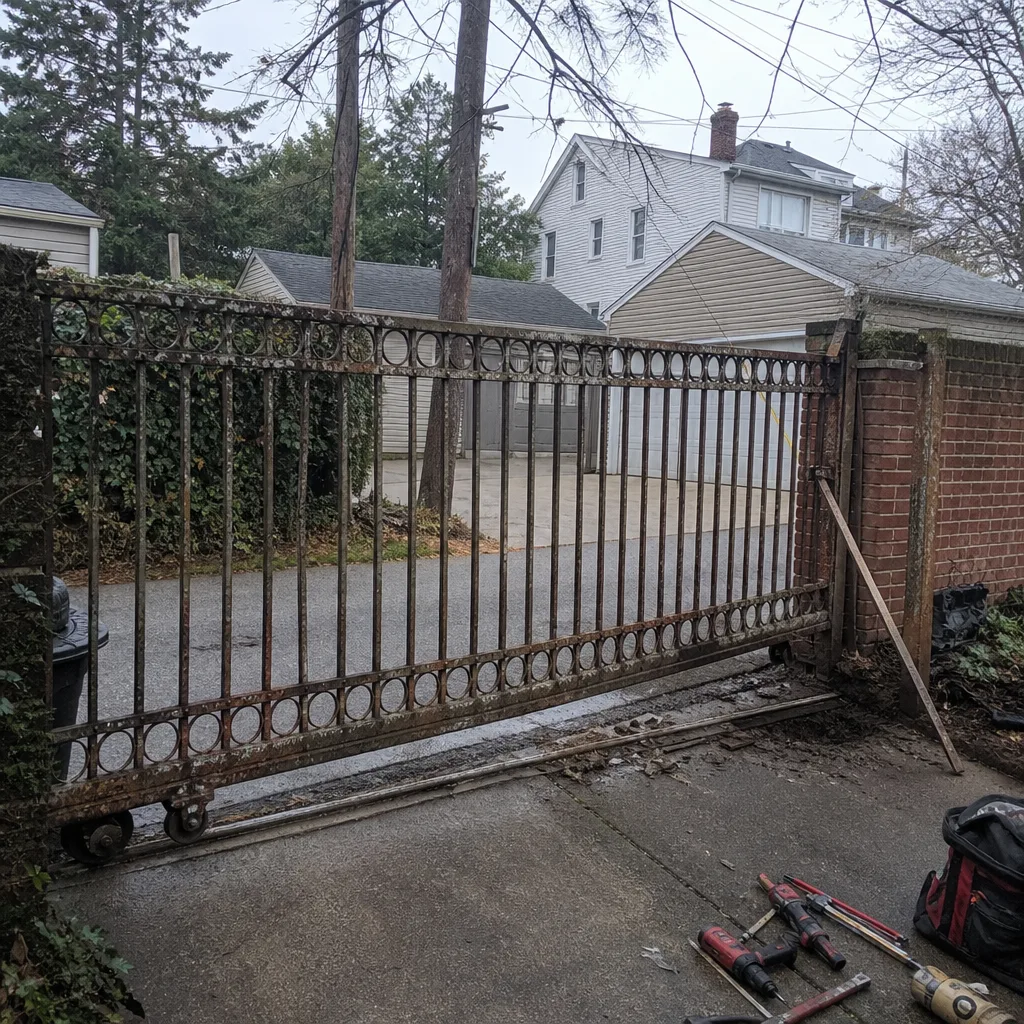 Before
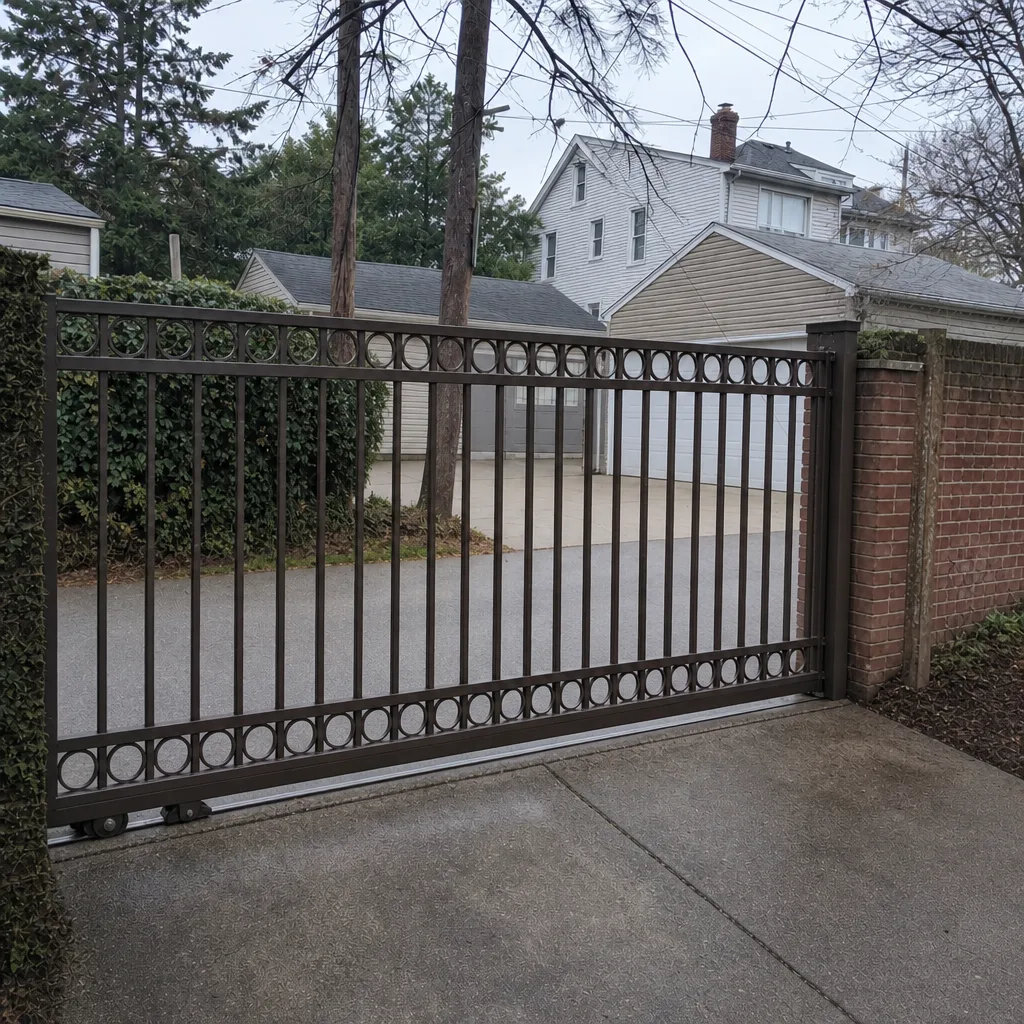 After
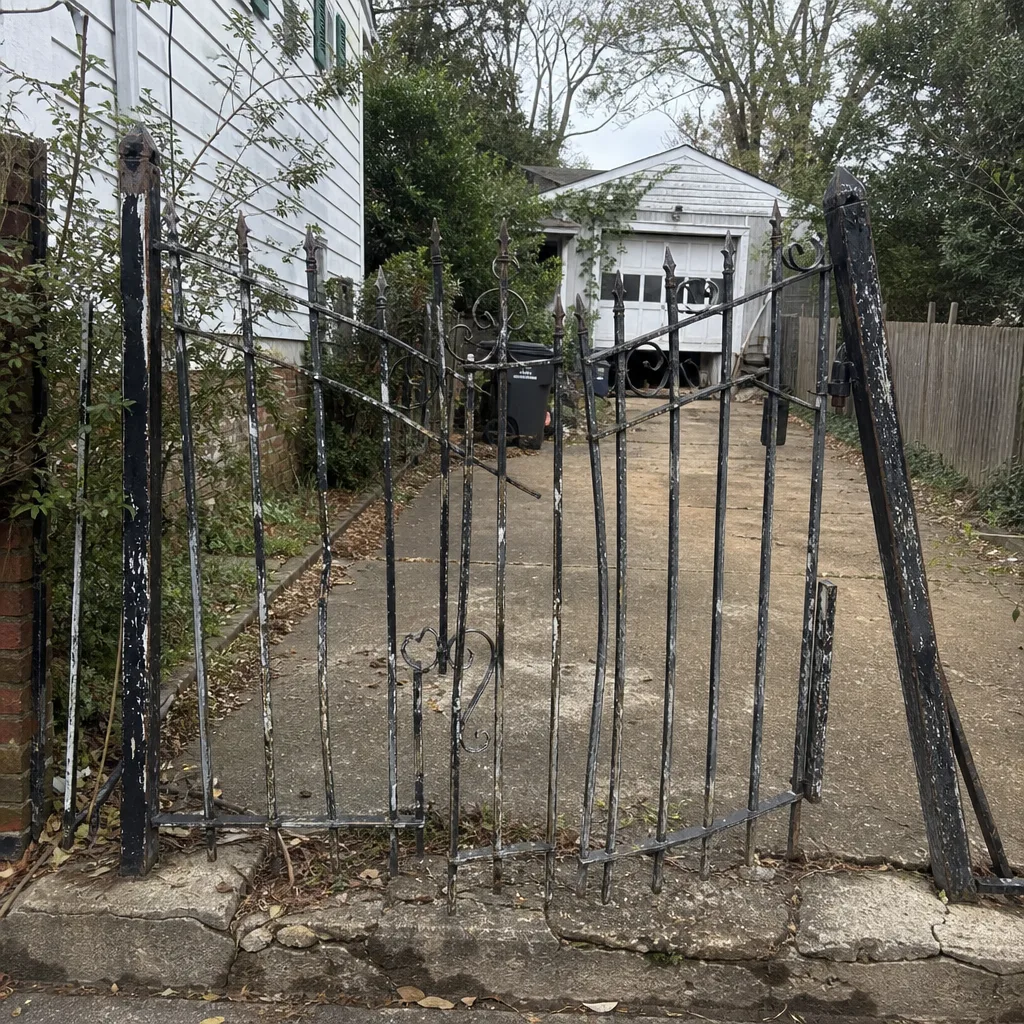 Before
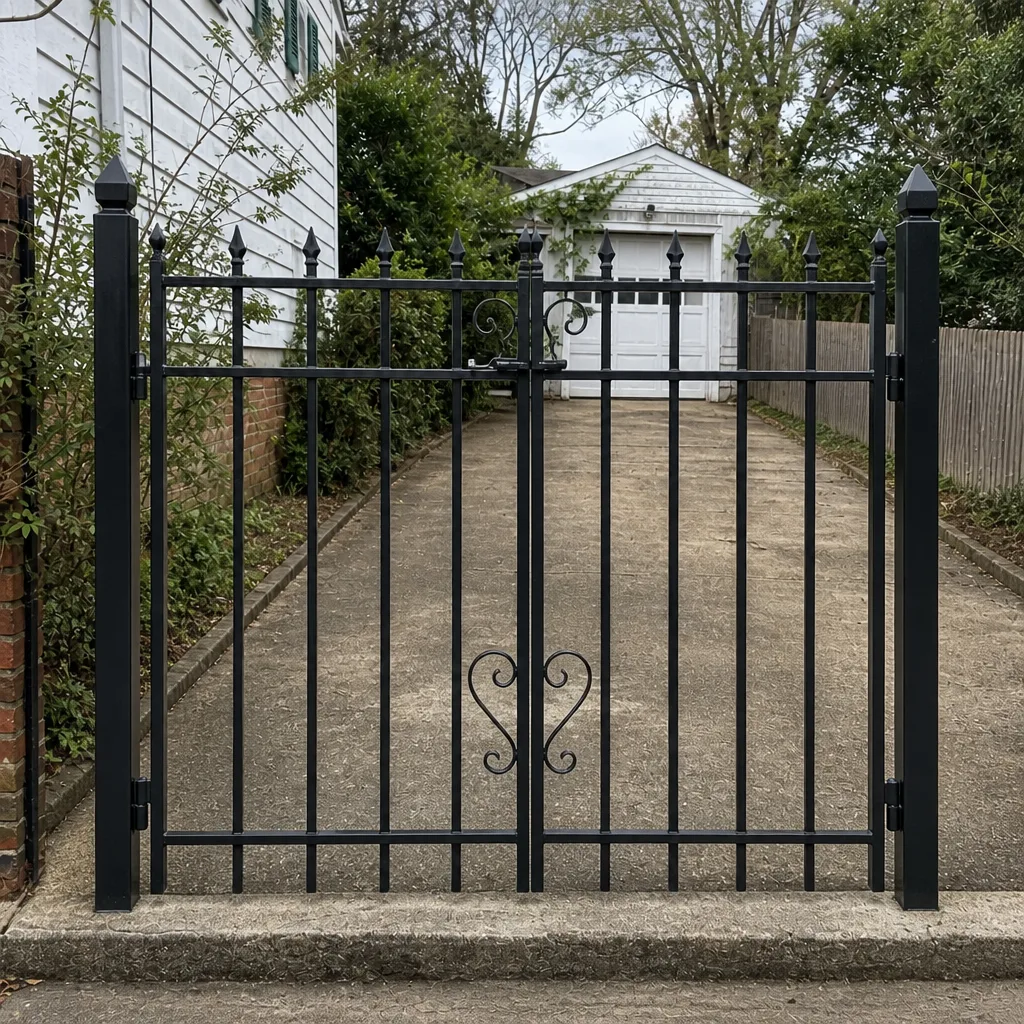 After
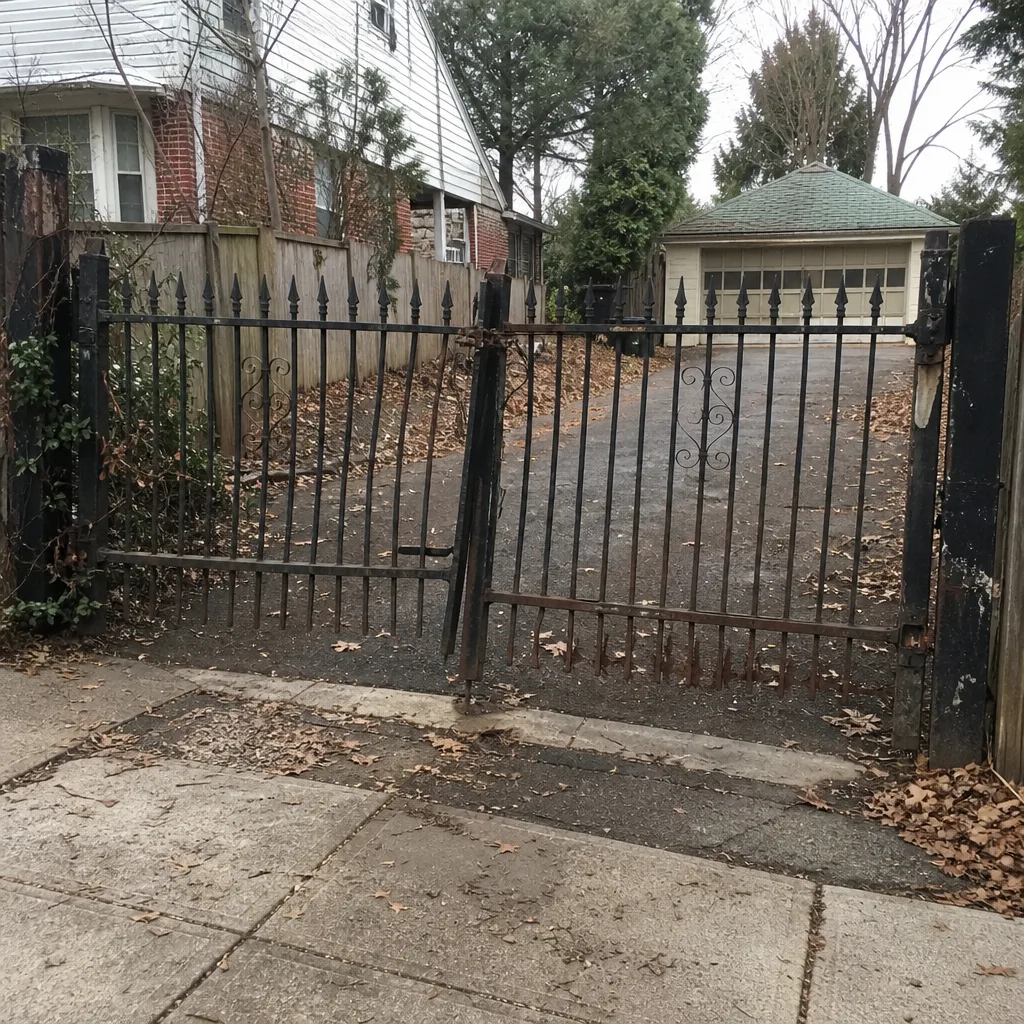 Before
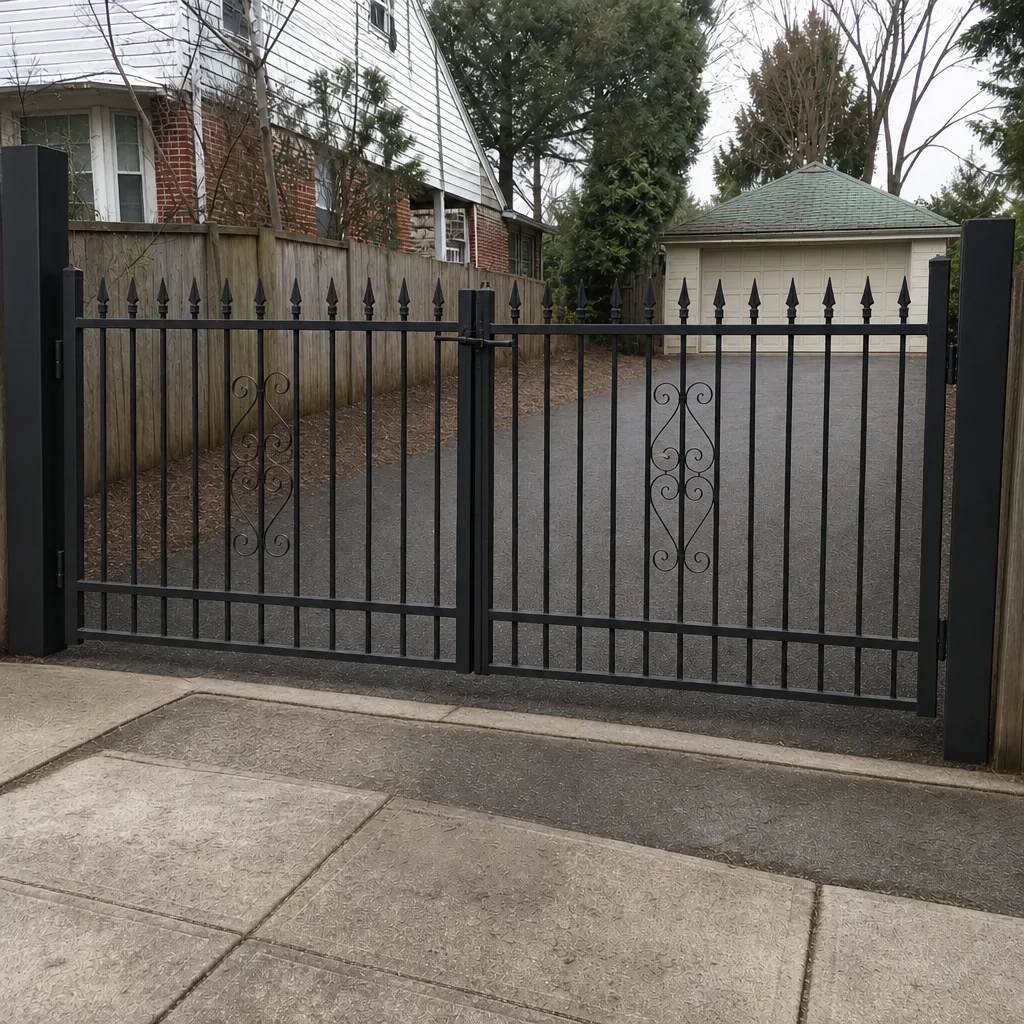 After
When to Call a Professional
Call a professional when the gate fails your sensor test, when it sags, drags or lurches, when the operator strains, or when you hear anything new. Call immediately if a safety reversal system won’t test correctly, since a gate that doesn’t reliably reverse shouldn’t be left running automatically. Call when you can’t identify the brand or the reset procedure on your control board. And call for anything involving the operator’s power wiring, control boards or loop detectors; that work belongs with a trained professional, not a homeowner with a manual. Gate Repair Washington offers free estimates in Washington, and our work is limited to gates: repair, electric gate repair and installation. Call (888) 260-4909. We answer 24/7. Fast dispatch from 7am to 7pm, Sunday through Friday.
If your gate is in the middle of a failure, start with Washington coverage and we’ll point you to the right service.
Frequently Asked Questions
Run a 10-minute tool-free inspection every quarter, and a deeper seasonal pass after the first hard freeze, after pollen season and when summer humidity peaks. That gives you four checkpoints a year built around the events that actually stress a gate in Washington, rather than an arbitrary month on a calendar.
Freeze-thaw cycles contract metal, loosen fasteners and turn grease waxy, so components that were fine in fall are working unprotected by February. A quick walk-around within a week of the first hard freeze catches most of it while it’s still a tightening job, not a repair.
Use a chain-specific lubricant that penetrates the pins on a chain drive, applied to a clean chain, and never thick grease, which collects grit. A screw drive takes a lighter product suited to the screw. The two drives wear differently, so the wrong product on either one accelerates wear instead of preventing it.
Pass a solid object through the photo-eye beam while the gate is closing; it should stop and reverse. Test the loop detector the same way with a vehicle gate. If either one fails, stop using the automation and call a technician, because a gate that doesn’t reliably reverse is a safety hazard.
You can do the quarterly visual checks, clean tracks and lenses, and lubricate the components yourself. Anything involving the operator’s power wiring, control boards, loop detectors or sensor calibration belongs with a trained professional. Getting a reversal setting or a control board connection wrong is how a maintenance item becomes a repair.
Grinding or squealing, uneven movement, sagging, slow or failed reversal, and an operator that sounds labored are all stop-now signals. Frequent nuisance trips that only appear in humid weather point to sensor or board trouble. Call (888) 260-4909 for an exact quote; estimates are free.
The Bottom Line
A gate maintenance schedule for Washington works when it follows the seasons, not the calendar. Inspect after the first hard freeze, clean tracks and sensors after pollen season, test the electronics when humidity peaks, and clear the path before winter. Match your lubricant to the drive type, run the 10-minute quarterly check, and test the safety reversal sensors every time. Catch the small wear early and most failures never happen. When the gate tells you something is wrong, get it looked at, because the expensive repairs almost always start as cheap ones you waited on.
Call (888) 260-4909 for a free estimate. We answer 24/7. Fast dispatch from 7am to 7pm, Sunday through Friday.
Written by the team at Gate Repair Washington.